I owe it all to Him

Gifted Girls is featuring poetry this month, and new poems will appear throughout the week. To join in on next month’s theme, send a photo of something you’ve sewn, such as clothing, accessories, blankets, pillows, etc. Please submit photos by Sunday, March 29, 2009.

I owe it all to Him

giftedgirl1The One who gave it all for me,
So I could have a hope;
Forgave my sins and set me free-
The Anchor on my rope.

The only One who keeps me sane
When I don’t know what to do;
He can always ease the pain,
He helps me see the truth.

I often fail and wonder how
He still loves me so;
Inside, He sees that I mean well;
He sees my heart, I know.

Sometimes it seems my weaknesses
Throw failure in my face.
But deep inside, my Rock, my Strength,
reassures me of His grace.

It hurts to admit, after all He’s done,
That I could do so much more.
Dear God, I ask You, open my eyes;
Help me see those doors.

A stranger, a friend –anyone–
I know they aren’t just people;
Someone must tell them of God;
If I don’t try, who’ll teach them?

It feels like I’m against myself;
I know what I should do.
But still my fears would hold me back,
I don’t have the strength, it’s true.

But I will never cease to pray,
He’ll pull me ever through.
He’s paid the price; I’m here to serve;
Jesus, I owe it all to You.

By Hannah Smith

Snow Creations

Snow creations are featured this month! Scroll down for information about next month’s item.

Snowman created by Catherine James and Diana Walker

Snowman created by Catherine, James, and Diana Walker

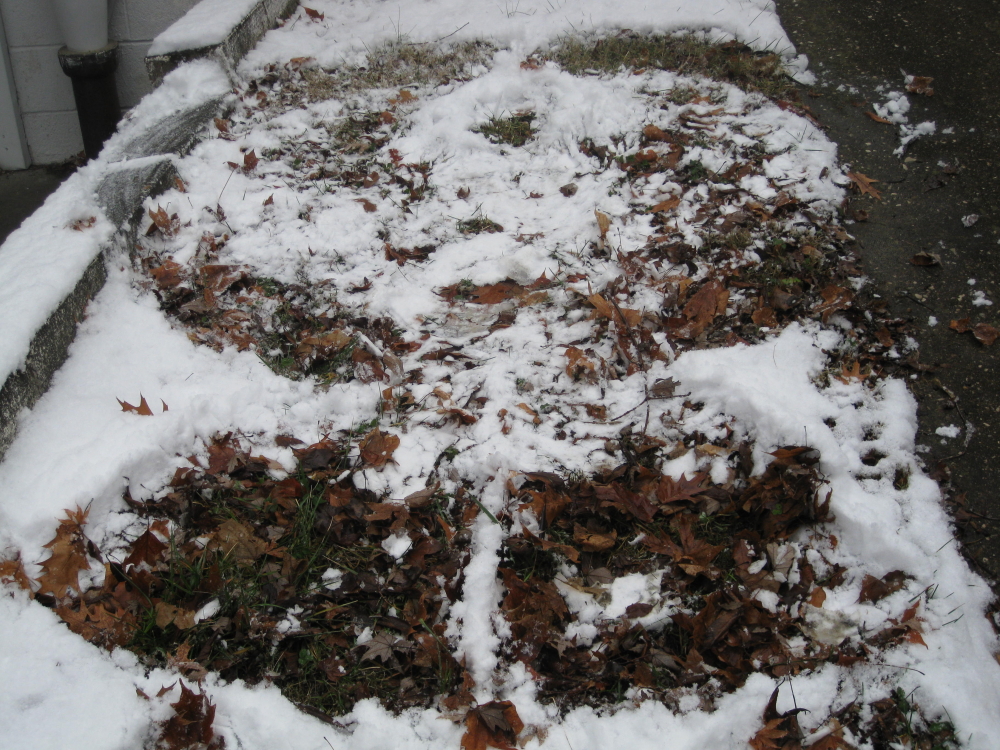
Snow angel created by Davonne Parks

Snow angel created by Davonne Parks

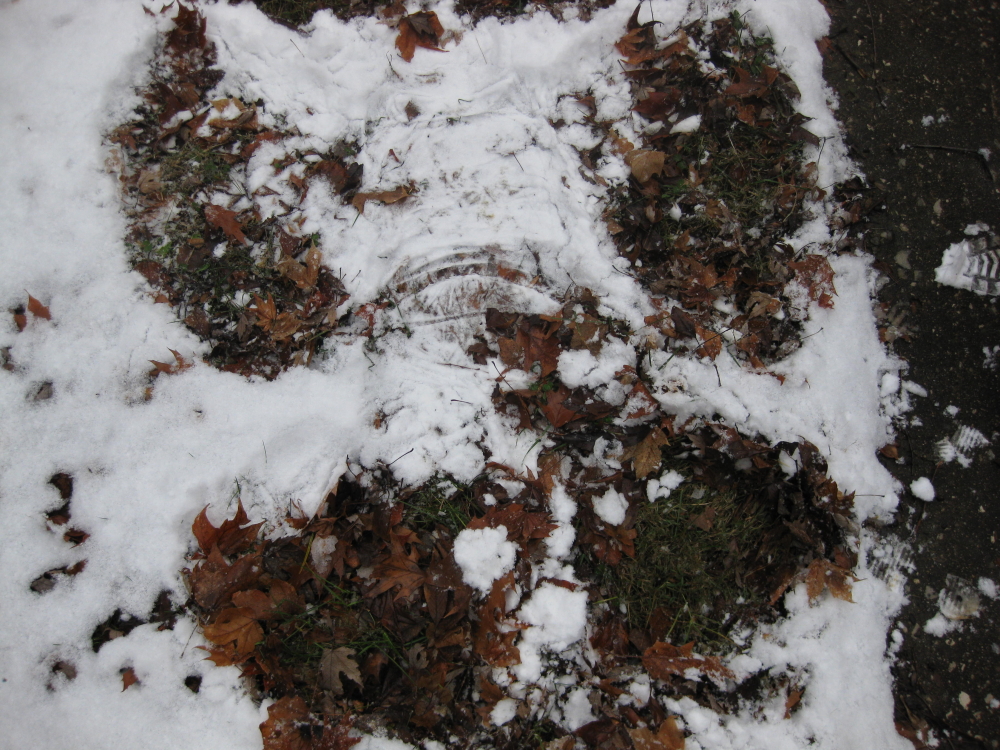
Snow angel created by Lily Parks

Snow angel created by Lily Parks

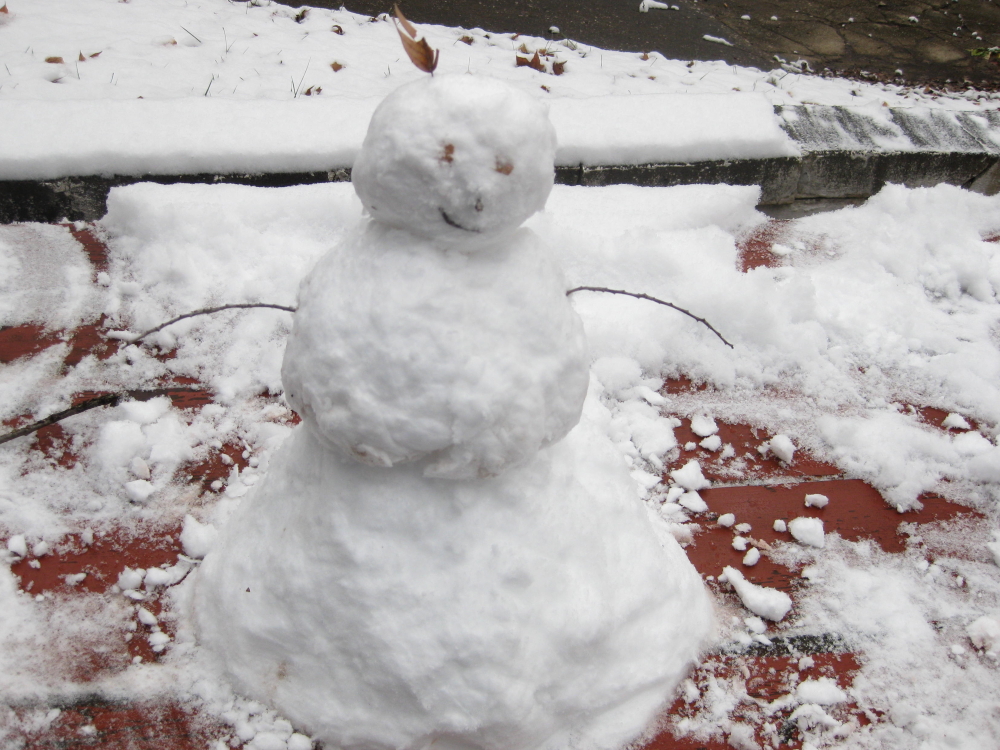
Snowman created by Davonne and Lily Parks

Snowman created by Davonne and Lily Parks

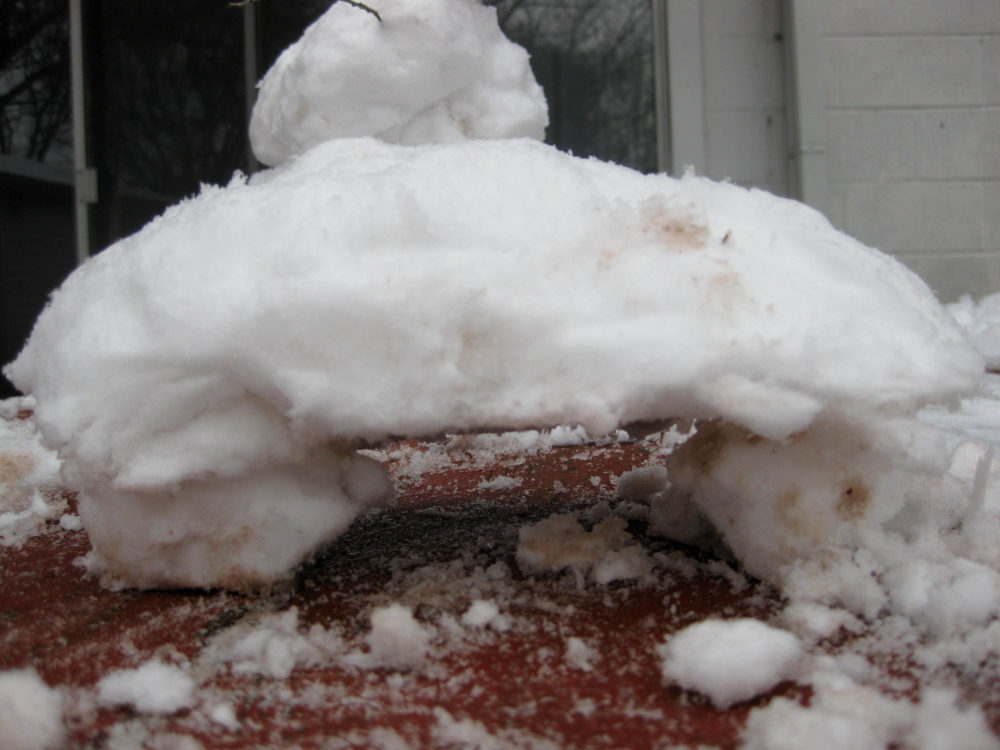
Snowcar created by Davonne and Lily Parks

Snowcar created by Davonne and Lily Parks

Future note

If you’d like to have your poetry published, please submit your poem by Wednesday, February 25 for possible use in our March article!

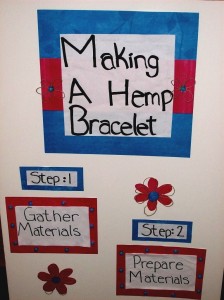
Making a Hemp Bracelet

Have you ever wanted to know how to make a hemp bracelet? By learning a few easy steps, you can learn to make and customize a bracelet to fit your personality.

Gather your materials

1) Hemp twine. If you are only making one or two bracelets, you can buy a small coil of hemp at JoAnn Fabrics or Walmart for about two dollars. If you are making more than two, you should buy a roll of hemp (at JoAnn Fabrics or Walmart for about seven dollars). Hemp is available in many different colors at almost any craft supply store.

2) Scissors. Make sure they are sharp enough to cut through hemp. Fiskars is a good, durable brand of scissors that will serve well for future crafts.

3) Safety pin. The safety pin is used to hold the hemp in place. A three-ring binder can also be used for this purpose.

4) Beads. Make sure that two strands of hemp can fit through the bead. You can also buy special clay to make your own beads.

Prepare materials

1) Cut two pieces of hemp. The first piece should be about six times the length of your wrist. My wrist is six inches around, so I must cut a thirty-six-inch piece. The second piece should be double the length of the first (in my case, 72 inches).

2) Make your loop. Do this by folding both pieces of hemp in half to make a crease, then tie the creased ends together to make a loop that is about a half-inch long.

3) Attach the safety pin to the loop and then to something sturdy, such as a chair, a pillow, or the knee of durable jeans you’re wearing. The shorter ends of the hemp should be in the middle.

4) Mark the end of the right strand with a marker or a piece of tape. The marked side is the first to be used for each knot.

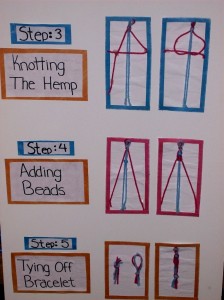
Making the bracelet

1) Knot the hemp. Start with the strand that you marked. Bring the marked strand across the two middle strands. Then bring the marked strand under the left strand, forming a half circle on the right side. Next, bring the far left strand under the middle two strands and up through the half circle on the right. After that, pull the left and right strands tightly and that should form a square knot. Repeat the square knots until your bracelet is at the desired length.

2) Add beads. When you get to a point where you want to add beads, slide your beads up the two middle strands. You will then resume the square knot tying.

3) Tie the end of the bracelet. Tie four strands together in one knot. Make sure the final knot will fit through the beginning loop.

The next time you find yourself wanting to make a hemp bracelet, you will have the skills and ability to do so!

Future note

Please submit photos of your snow creations (snow angels, snow people, snow forts, etc) by January 29 for use in our February article.

By Chloe Parks

Winter Creations

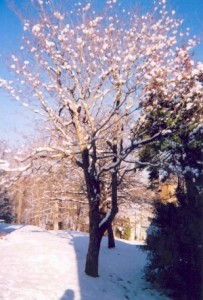
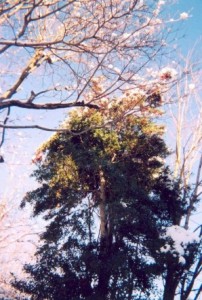
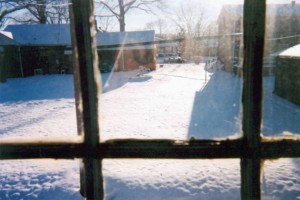
Job 37:5-7 “God thunders with His voice wondrously, Doing great things which we cannot comprehend.  For to the snow He says, ‘Fall on the earth,’ And to the downpour and the rain, ‘Be strong.’  He seals the hand of every man, That all men may know His work.”

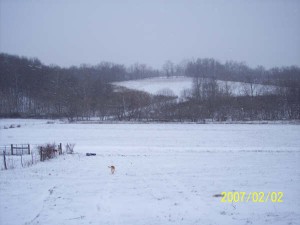
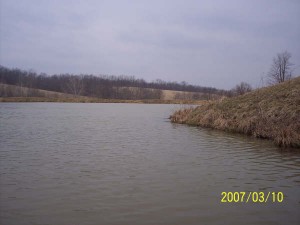
Photos 1-5 Submitted by Shelby Garrett

Photos 6-8 submitted by Davonne Parks

Card Making

Instructions

1. Gather (or buy from the dollar store) some construction paper
2. Gather colored pencils, markers, or crayons
3. Have friends help out
4. Have someone in mind (either a sick person or a shut-in from church, or a neighbor or friend) that you can send the card to
5. Get creative…and begin!!

Card Making Ideas

When making cards for shut-ins or sick people, put words or pictures that encourage the person or make them smile. Mention that you’re thinking about them (and obviously you are if you’re sending them a card!) and that you hope they feel better or that things will improve for them. Get really creative with your card! For example, since it’s December, you could include some Christmas pictures. Draw a picture of a Christmas tree or Christmas lights to brighten up your card. Those of you who are really adventurous could draw mistletoe or a reindeer. You could even cut out pictures and paste them onto your card! Snowflakes are a great illustration that will last the entire season.

Caution

If you cut out pictures and paste them onto your card, make sure that you clean up; if you’re leaving them to dry and want to get them out of the way, don’t set them on top of each other…they’ll stick together (and we don’t want that)!

Credits

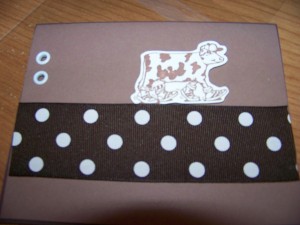
Card pictured above was made by Miss Jane Isaacs.  Card below was created by Davonne Parks.  Click on all images to enlarge.

Future note

If you’ve made anything using hemp, please submit a photo of it to us, by December 15, for use in our January 2009 article.

By Alyssa Sturgill

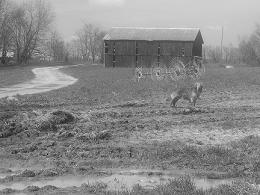
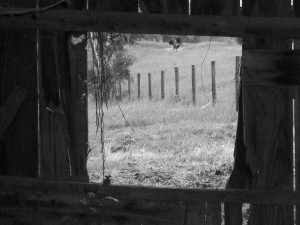
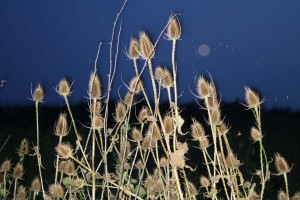
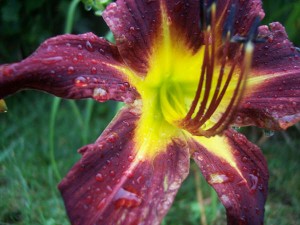
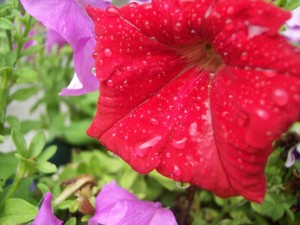
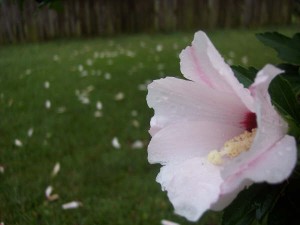
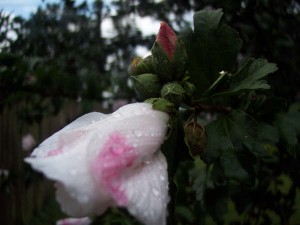
Stand Forever

Isaiah 40:8 “The grass withers, the flower fades, But the word of our God stands forever.”

Photos submitted by Shelby Garrett

A Thanks-giving Tablecloth

I just started this project last year, and I think it’s a great addition to any Thanksgiving dinner table. Although I am making one with my two young sons, this can be done with all members of your family, and with any age, old and young.

  1. Purchase or find a simple tablecloth. I like inexpensive and solid. Do not get busy prints or textures, and stay away from things like lace, because that will distract from the beauty of the project.

  2. Lay the tablecloth on cardboard or paper so the paint will not bleed through to the table or floor.

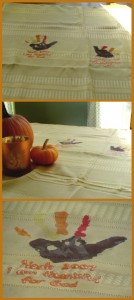
  3. Use fabric paints or pens to write one thing you are thankful for. You can even draw a picture. Young  children can use paint on their hands to make a handprint turkey to include with their thankful idea (click on photo for example).  Don’t forget to include your name and the date on each person’s response!

  4. Let the tablecloth dry, and then add it to your dinner table! You can’t get a simpler holiday craft idea––and one that will have a special meaning to you and your family for years.

Don’t worry about filling up the tablecloth this year, because this is a project that will be added to each year, and the tablecloth will become filled as the years pass.

Future Project

Please send us photos of any jewelry or project you’ve made using hemp, so we can include them in our January 2009 article. Photos must be submitted no later than December 15, and remember that your name will be included with your photograph.

By Lisa Grimenstein

[poll id=”28″]

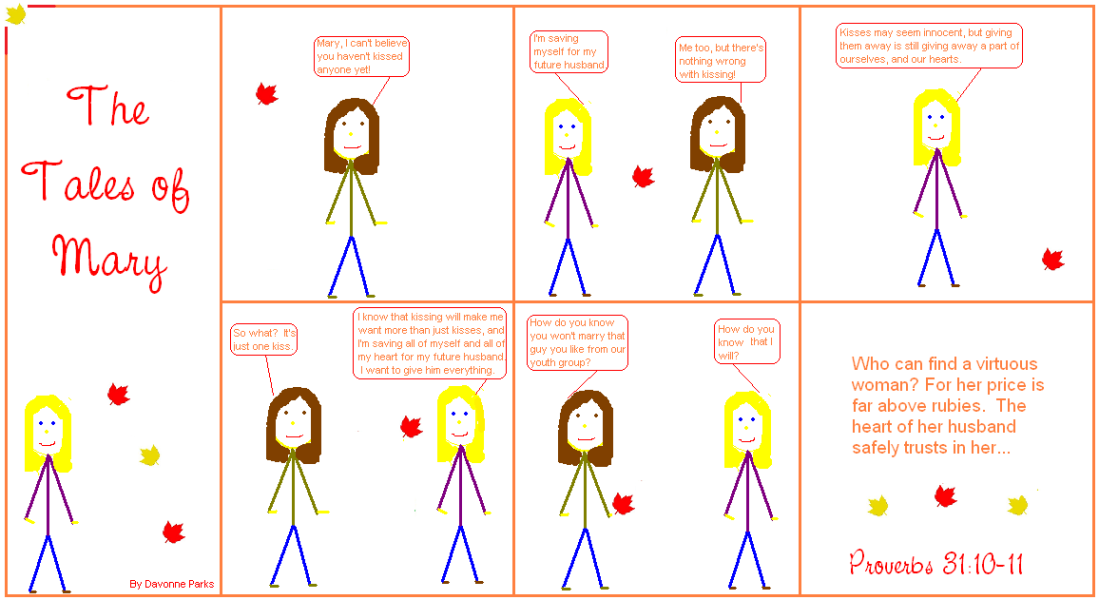
Tales of Mary – Episode 5

Click on image to enlarge

Click on image to enlarge.

More Precious than Rubies

Proverbs 31:10 “Who can find a virtuous woman? For her price is far above rubies.”

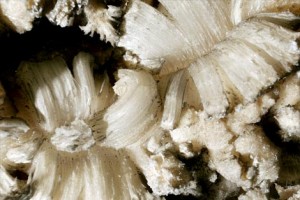
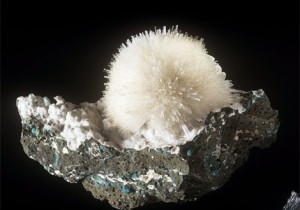
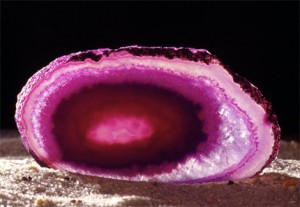
Photos 1-4 from National geographic

Azurite

Azurite

Gypsum

Gypsum

Mesolite

Mesolite

Pink Chancendony

Pink Chancendony

Photos 5-8 Submitted by Shelby Garrett

Lily
Pink Flower

Paint A Pumpkin

Pumpkin Painting Instructions:

  1. Purchase desired pumpkins or gourds
  2. Purchase washable paints
  3. Find paintbrushes
  4. Begin painting!

Pumpkin Painting Ideas:

Have a pumpkin painting party where you supply the paints, and everyone else brings their own pumpkins and a snack to share. Everyone can make two pumpkins – one to keep and one to give away! Invite younger siblings and parents to this activity, because this is an event every age can enjoy. Give everyone a chance to discover their gift of painting!

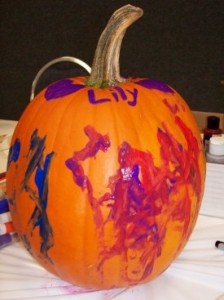
Give simple prizes or certificates for the pumpkins, such as most original, silliest, most professional, etc. The pumpkin pictured won first place for the most colorful pumpkin!

Caution:

Do not leave these painted pumpkins outside! The paint will wash off in the rain. Depending on their size, the pumpkins can be used as a table centerpiece, an office paperweight, or a fireplace decoration.

Your Turn!

Paint your own pumpkins, take pictures, and contact us to receive simple submission directions, so your pumpkin can also be featured in our Gifted Girls section.

Future Note:

We will be featuring homemade cards in our December 2008 issue. If you’ve ever made a card for someone else, or would like to try making a card, take a picture of it and send it to us no later than November 15th for consideration.

– Davonne Parks

[poll id=”22″]